Designing with AI: ‘prompts’ are the new design tool
Exploring AI image generation.
The prompt
sci-fi dream autumn landscape with a white castle, colorful autumn maple leaves, trees, satellite view, hyper detailed, dreamy, volumetric lighting
The image
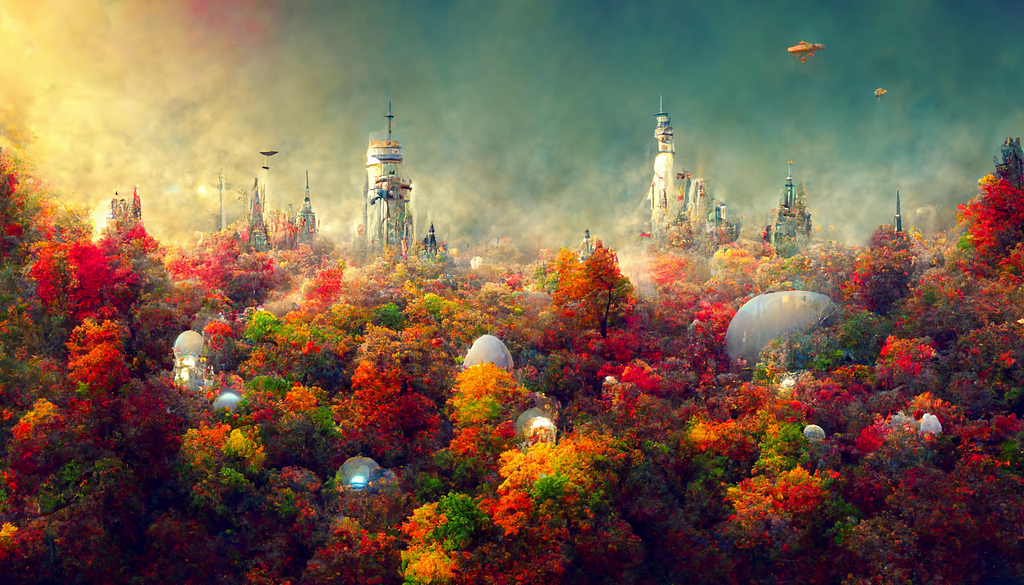
I am sure by now you have heard about AI image generators like Midjourney, Dall-E, Stable Diffusion, Nightcafe etc. Irrespective of which tool you use, what’s surprising is the fact that now you can give simple text instructions to a machine and it will generate some amazing images for you like the example above.
But you must also be wondering, then why is it that not everyone is able to produce these stunning images we see from others on Midjourney showcase or Instagram.
Introducing “Prompt Engineering”
The answer lies in what is known as — Prompt Engineering. Prompt Engineering is the concept in Natural Language Processing (NLP). Usually machine learning models are trained using millions and millions of data points and they start forming their own knowledge base, so one can never really figure out what the machine has learned. The best way to know what the machine knows is to craft different prompts and see what output we get.
The art of generating desired images through these Text-to-Image generators lies in gaining a good understanding of this knowledge. This is where Prompt Engineers come into the picture.
Prompt Engineers are people who have mastered the art of writing prompts that give consistent good results and leverage most of the features provided by the image generator engines. In this article we will focus mainly on Midjourney prompt engineering and learn the nuances of writing good prompts as well as some tricks to generating stunning images.
Basic prompts
Let’s look at two prompts and the images they generated.
Left image:
side profile car
Right image:
industrial design side profile sketch of a futuristic car, illustration, copic marker style, modern vehicle, creative
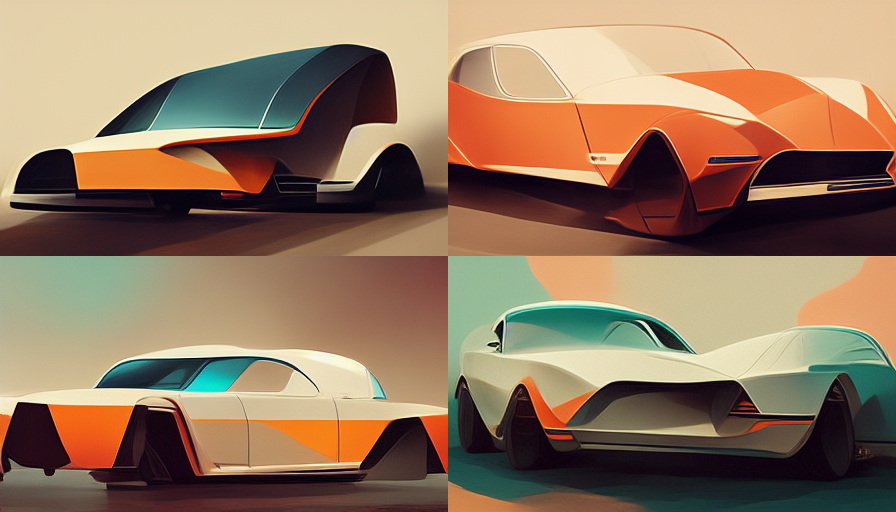
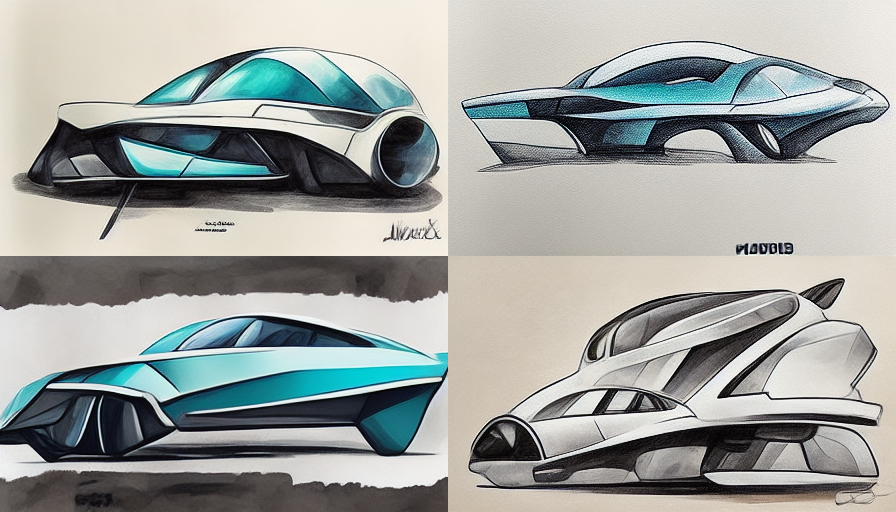
As you can see, the images on the right-hand side are more consistent and give us a result in the desired style while the images on the left are also nice but the styling was chosen by the algorithm.
This also tells us that Midjourney has learned what a Copic marker-style industrial design sketch looks like. It can also understand simple instructions like side view, front view, top view etc.
Let’s look at one more example.
Left image:
portrait of a humanoid
Right image:
portrait of a humanoid with exposed brain made of complex mechanical parts, bokeh, Nikon, f 1.8, cinematic lighting, robotic, octane render
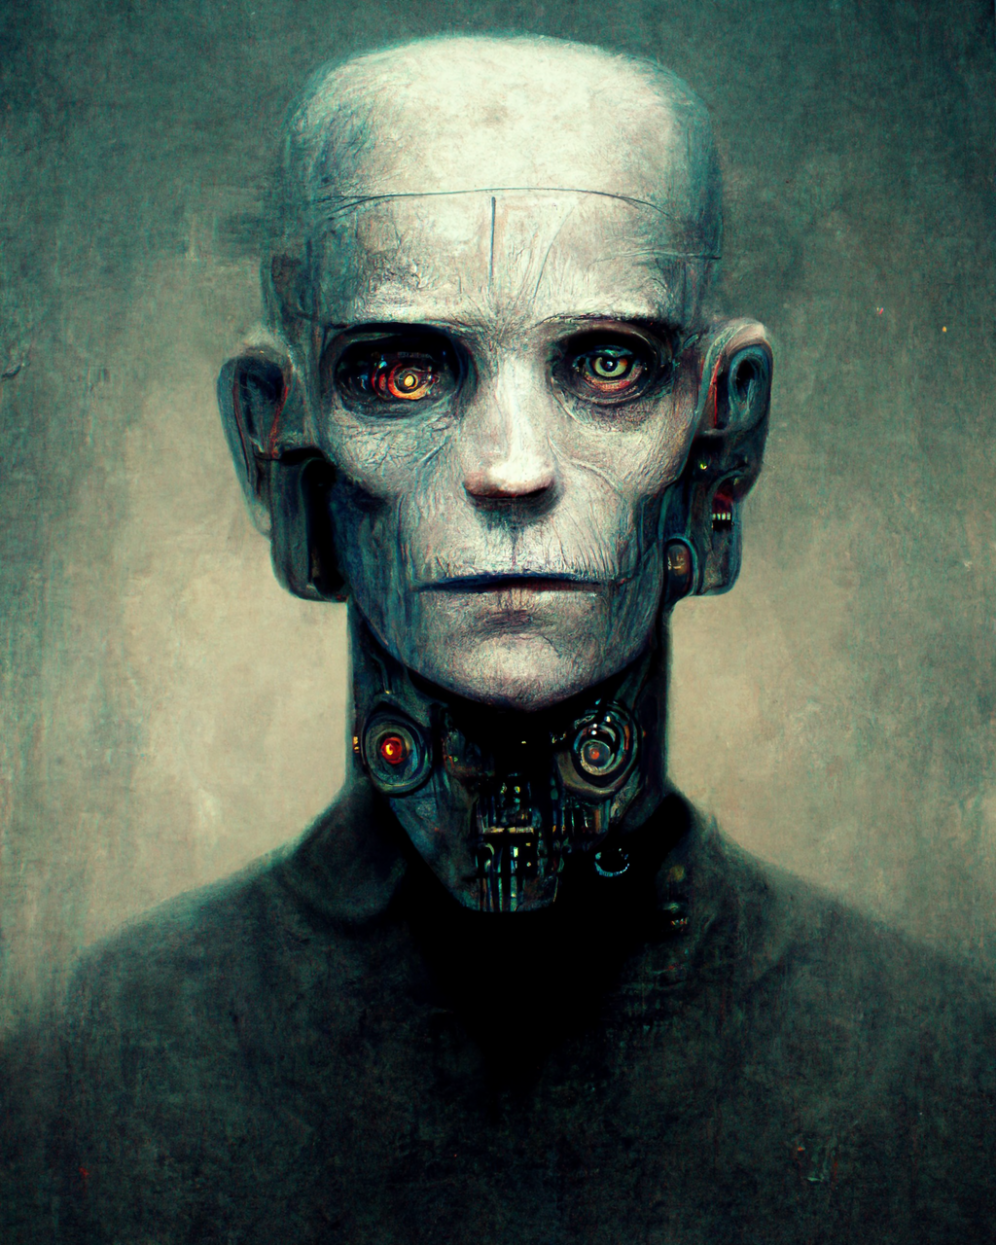
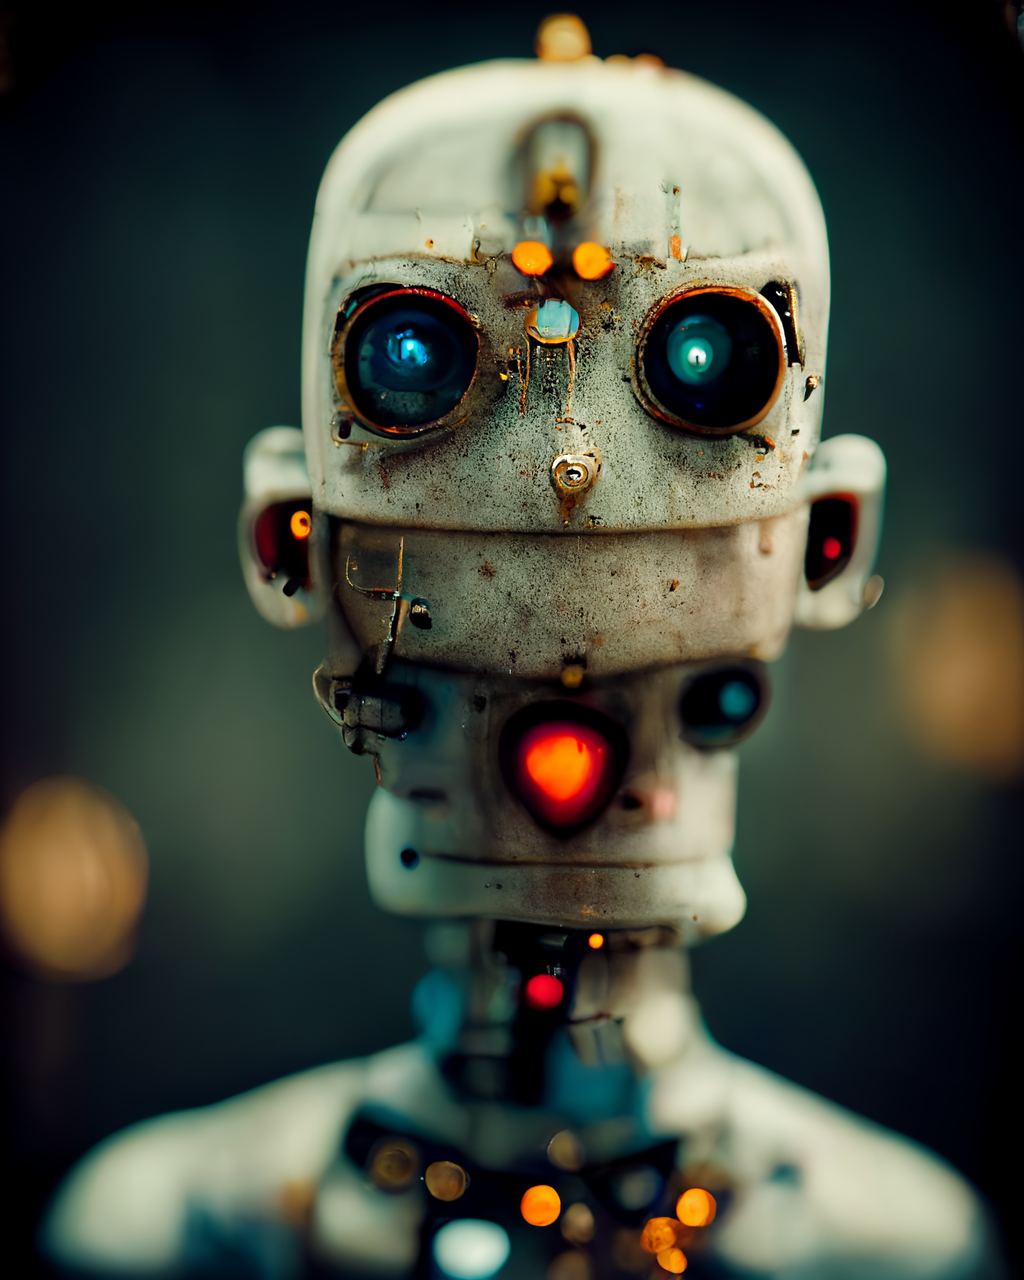
Once again, you can see, there are more things Midjourney knows and can help with your image rendering. Here we used its knowledge of a specific camera (Nikon), F-Stop of the lens (f 1.8), type of lighting, and lastly a rendering engine (Octane) too.
The more you know about what Midjourney has learned, the more you can take advantage of it, and the best way to find about is to play with it as much as you can.
What do we already know?
So is there a complete list of things Midjourney has been trained on? Well, not really. But, some of the things Midjourney can understand are listed on the Midjourney website here.
We know that Midjourney can understand things like:
- Different Art styles
– Japanese Anime, Steam Punk, Cyber Punk, Post Modern, Surreal etc. - Famous and popular Artists
– Andy Warhol, Da Vinci, Monet, Waterhouse, Picasso, Dali etc. - Types of realism
– Photorealistic, Hyper detailed, Sharp focus, Atmospheric etc. - Rendering engines
– Octane render, VRay, Unreal engine, Ray tracing etc. - Lighting Styles
– Volumetric, Cinematic, Soft box, Glowing, Rim light etc. - Camera positions
– Wide angle shot, Ultra wide angle shot, Portrait, Low angle shot etc. - Types of cameras
– Nikon, Sony, Leica M, Hasseblad etc. - Photographic styles
– Macro, Fisheye, Polaroid, Kodachrome, Early wet plate etc. - ISO
– Different ISO values to simulate film grains. - Resolution
– HD, 8K, Full HD etc.
Apart from these kinds of image parameters, Midjourney can also be instructed to do some specific things like:
- Add chaos
– A numeric value between 0–100 defines how random and unique the generated image will be. - Stylize
– The stylize argument sets how strong of a ‘stylization’ your images have, the higher you set it, the more opinionated it will be - Aspect ratio
– Default images are 1:1 square images. But you can define any aspet ration you want your image to be. - Image size
– This allows you to specify pixel size for your images (size ranging from 256 to 2034 pixels). - Image URL
– Reference images for Midjourney to simulate the look.
… and much more.
Prompt Examples
Here are some more examples images and the associated prompts.
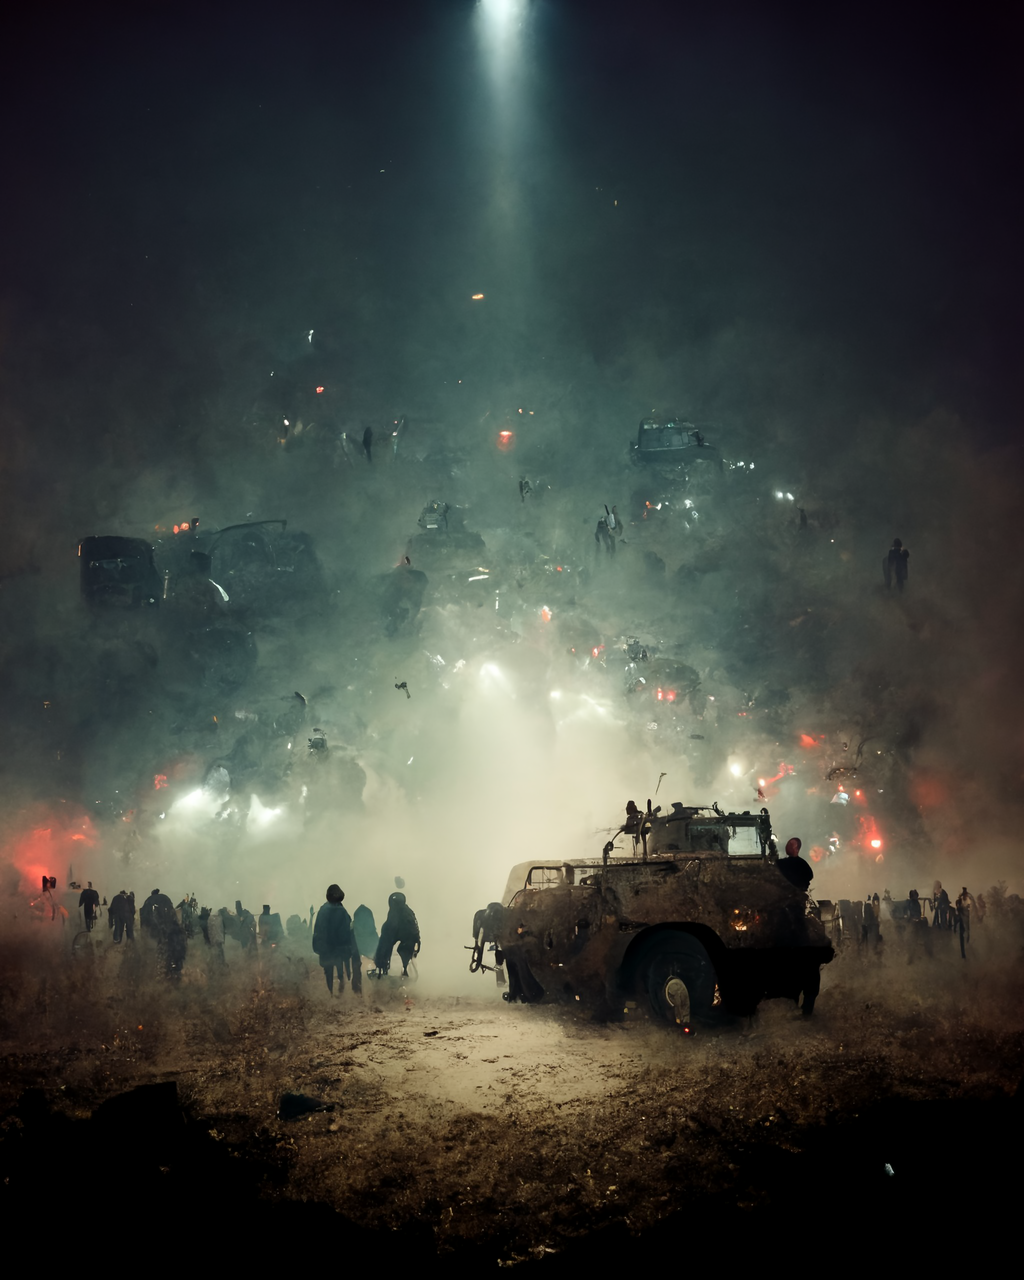
Apocalyptic chaos
lots of people in front of a military vehicle, food distribution, apocalyptic, chaos, foggy, fantastic backlight, fight, Octane render, back light, cinematic, ISO 400, 8K, --chaos 100 --s 2500 --q 1 --ar 4:5
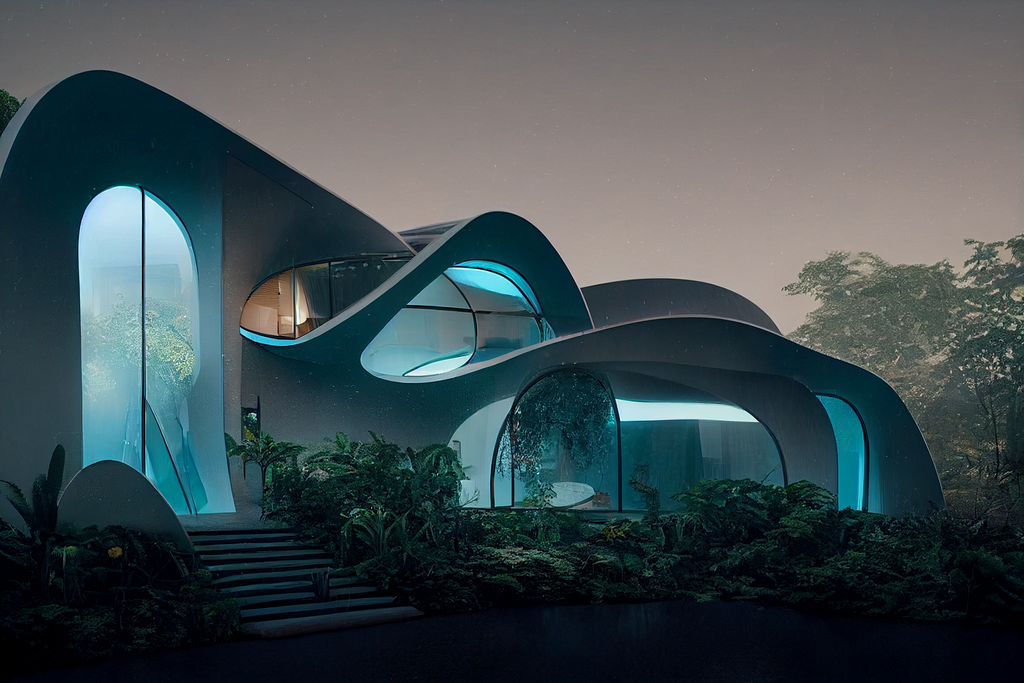
Futuristic home
futuristic house in the middle of a rain forest, fill screen, organic shaped curved glass windows, modern interiors, night scene, fantastic lighting, octane render, 8K, ultra detailed, --ar 16:9
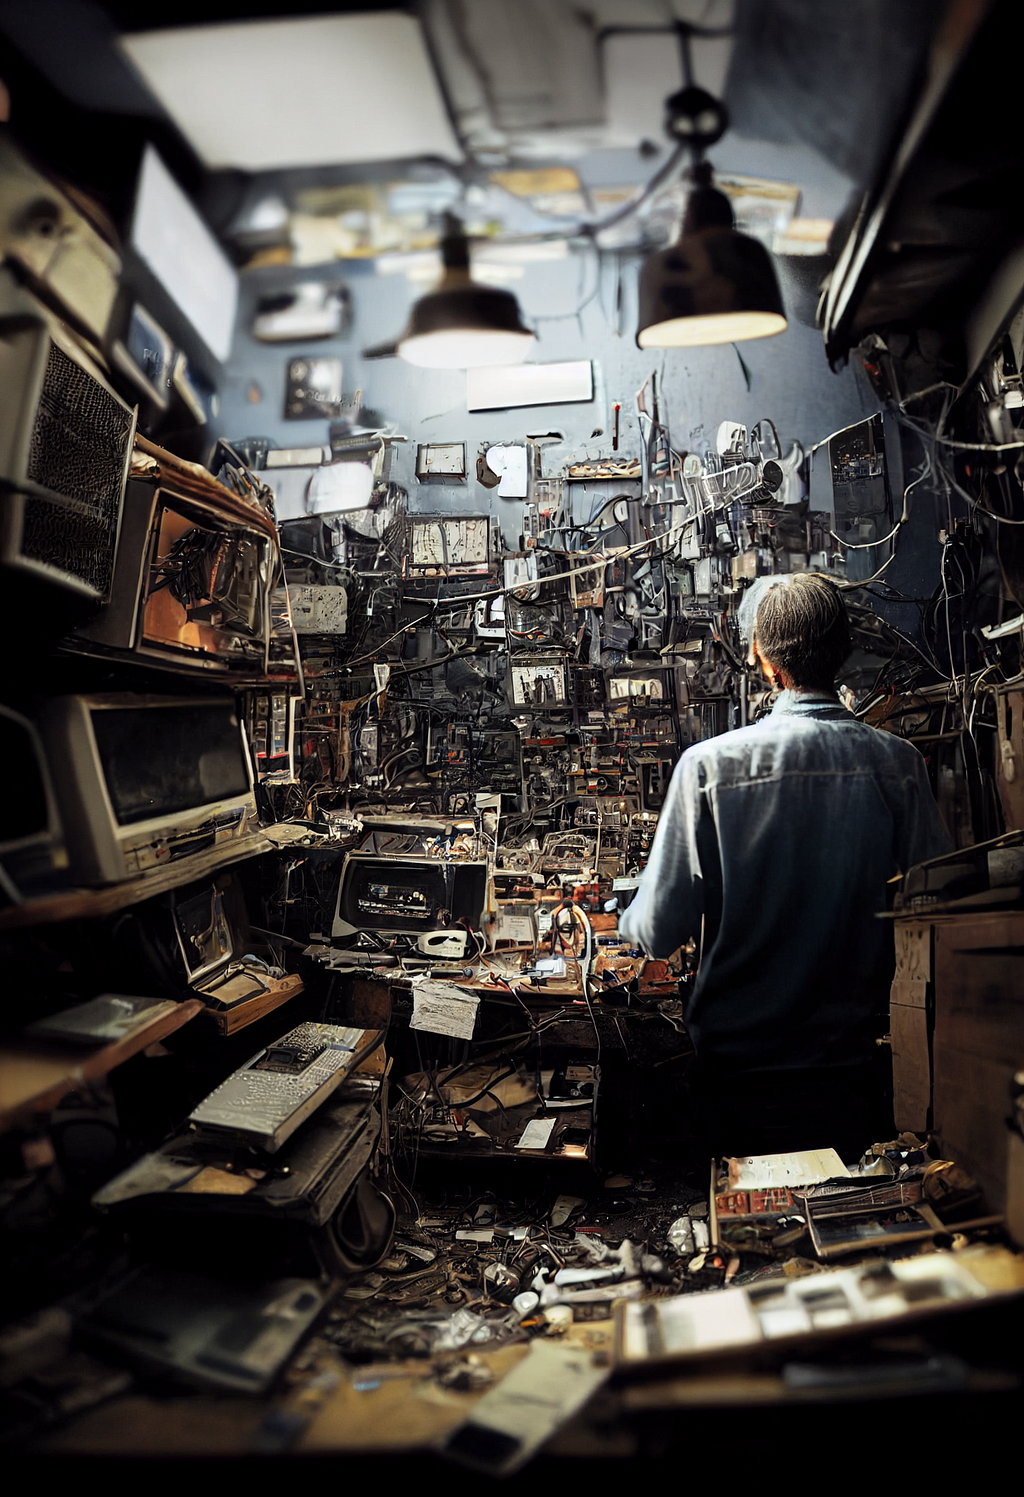
The workshop
closeup of a man behind a desk inside a highly cluttered old electronics repair shop, walls filled with electronics junk equipments, broken electronics, cables, wires, walls filled from floor to ceiling, dim lighting, single bulb hanging from the ceiling, hyper realistic, --ar 9:16
The process
As you can see, you can get pretty crazy with these prompts, and you will be pleasantly surprised by how much Midjourney knows and can accurately depict whats on your mind.
But there is a process to achieving these results. You will most likely never get the perfect result in the first attempt.
So whats the trick?
Let’s go over this last example of the workshop image and follow the steps to demonstrate how I achieved this.
After I entered the prompt, these were the 4 variations I got.
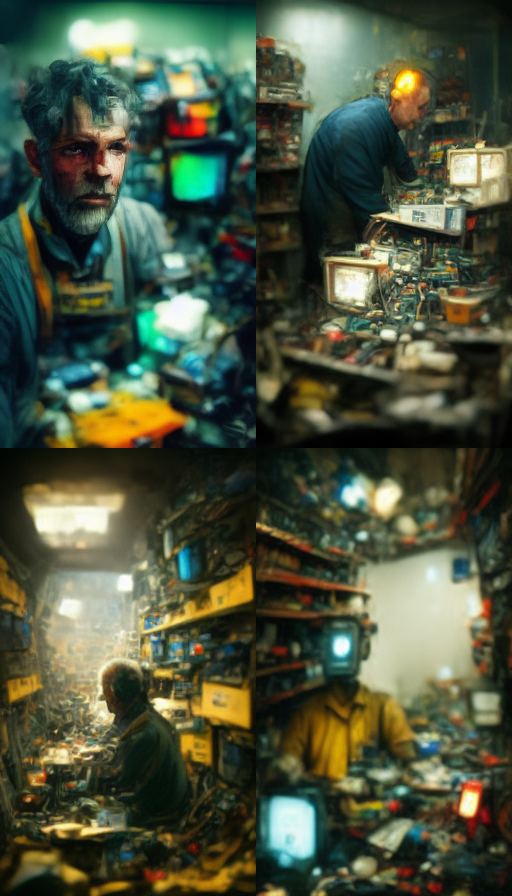
As you can see, Midjourney gives you a good variation to start with. I liked the image at the bottom left. It was closet to what I was thinking of. So I asked Midjourney to create more variations of this image. The resulting 4 variations looked like these:
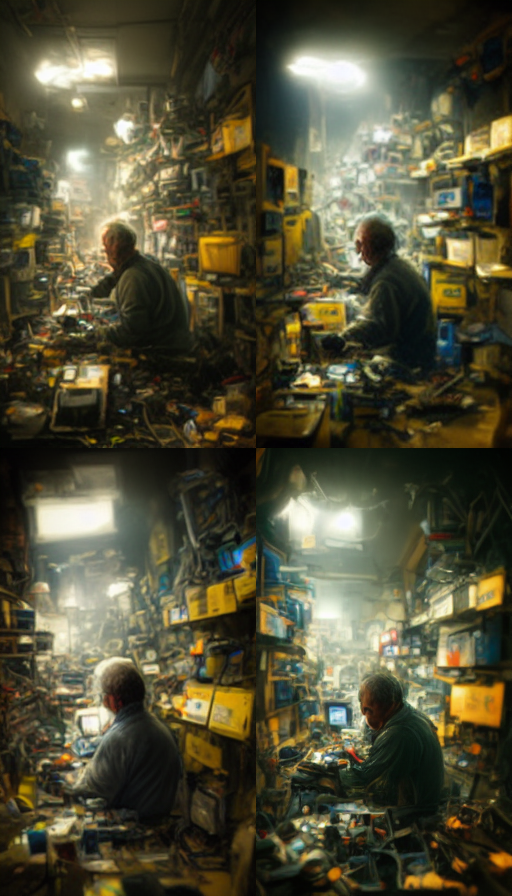
From these, the top right one looked good to me in terms of lighting and composition. So I first “upscaled” it. Below is the upscaled image.
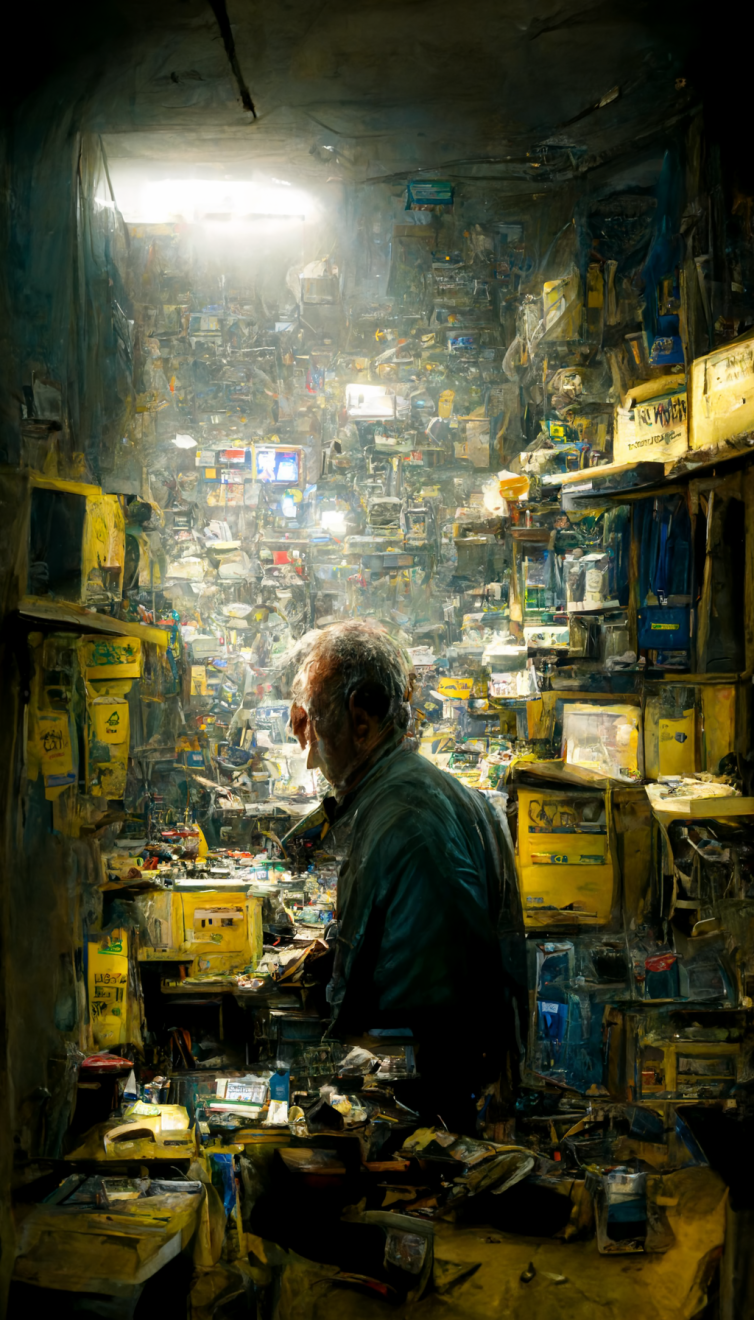
I was liking where this was going, so I once again created variations of this image and got these results.
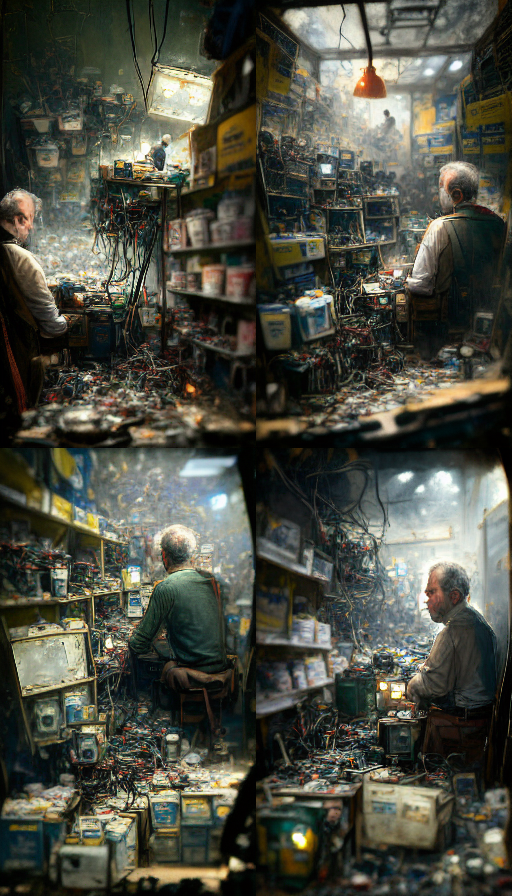
Now this was starting to look like the kind of space I was visualizing. The top right one seemed like the one I wanted. So I “upscaled” this one too (below).
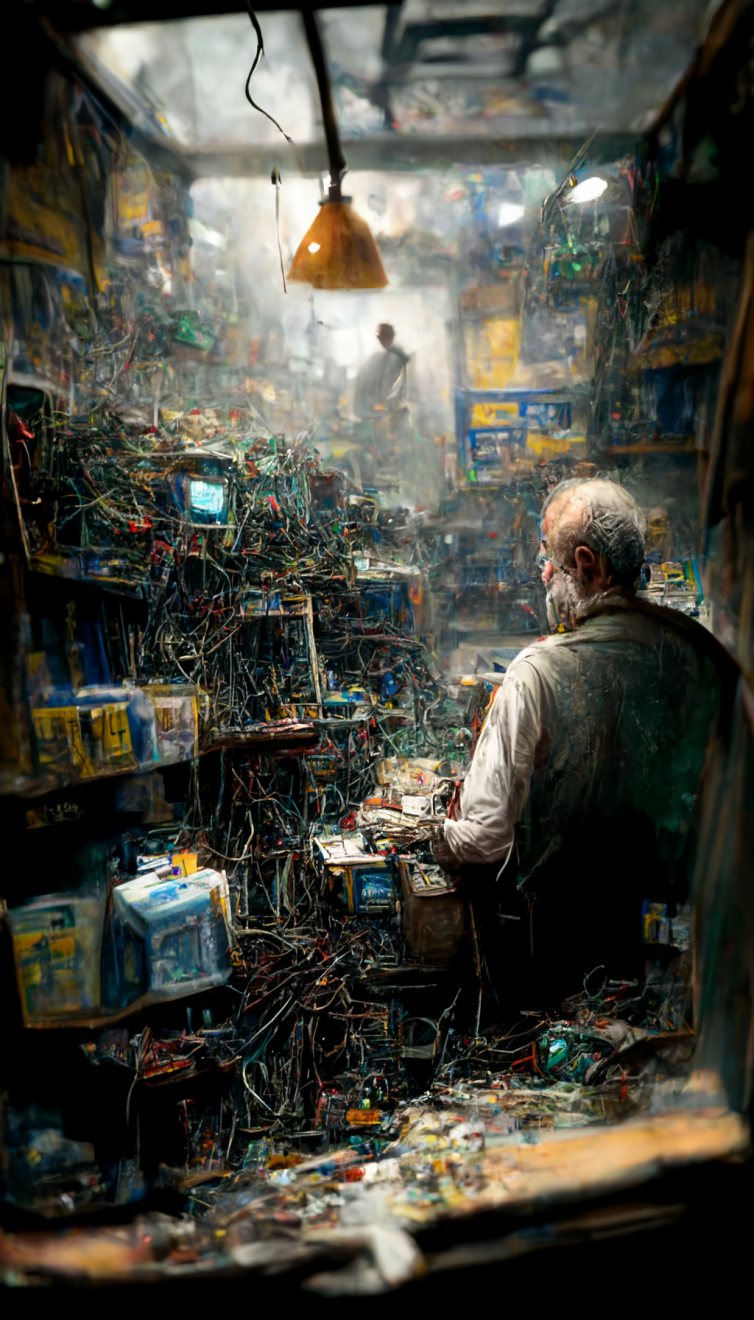
I really liked this image. I could have stopped here and this would have been a great image for someone looking for a rustic, painterly look. But I wanted to also try and see what “Remaster” feature will do to this image. So I remastered it and this is what it generated:
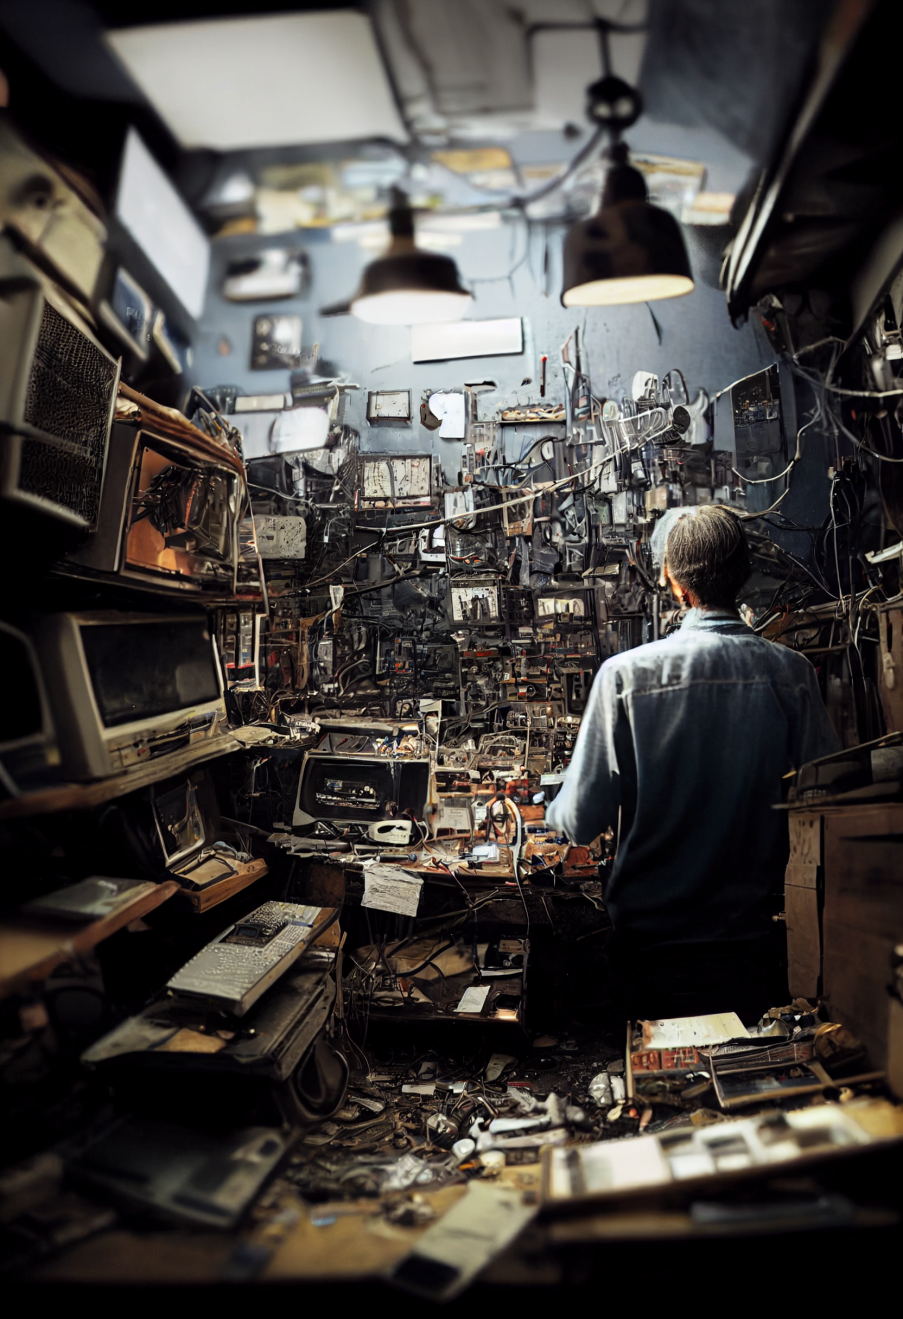
I still love the rustic style of the non-remastered image, but the remaster feature really cleaned up a lot of clutter and made is more realistic.
Remastering is an experimental feature which lets you increase the quality and coherence of the image. You can try it and see if you like. It all depends on your taste and the graphic style you are seeking.
Conclusion
As you can see, there is a lot that goes into creating a good image through these text-to-image AI tools. If you are quipped with the right tools, knowledge, and process, you can start creating some amazing art and graphics using Midjourney.
On one hand it sounds really scary to me as a designer, but on the other hand I see this as another evolution of the art industry and the tools we use.
Designing with AI: prompts are the new design tool was originally published in UX Collective on Medium, where people are continuing the conversation by highlighting and responding to this story.
from UX Collective – Medium https://uxdesign.cc/prompts-are-the-new-design-tool-caec29759f49?source=rss—-138adf9c44c—4
