
When getting started on a new design sprint it can be easy to want to hit the ground running by sketching or drafting wireframes, but an important first step that can sometimes be missed is the UX audit.
What exactly is a UX audit you might ask? When I say UX audit I am referring to the surveying the competitive (and sometimes not-so-competitive) landscape — seeing what others are doing, how they are doing it, and, potentially, why they are doing it that way.
UX audits are an important step in the design process because they allow the designer to:
- See what the landscape is like for a particular component or workflow. How are others doing it?
- Identify what works, what doesn’t, and what might be missing. Where is there opportunity for improvement?
- Understand what’s considered “best practice” and why. Why reinvent the wheel if there is already a standard convention that users are familiar with?

But auditing is not as simple as browsing the web and taking mental notes of what you see. As designers, that’s something we do all the time anyway. When actually conducting an audit, you need to keep a record of everything you’ve looked at to see the big picture. Insights and recommendations should come from documented findings, not fuzzy memories.
So how should you conduct a UX audit? I’ve outlined my steps to complete a successful audit below. These should help in your research and development of user-centered components and workflows.
1. Figure out what you’re auditing
Are you auditing a component like buttons, search boxes, or date pickers? Or maybe it’s something more complex like an account creation flow? Either way, nailing down what it is exactly that you’re looking for will help you stay focused with your audit.
2. Figure out who you should audit
Are you designing strictly for enterprise or is it consumer-facing? Or maybe it’s for something geared toward teens? While you’ll want to look at a mix of websites and apps to help understand best practices, you should definitely spend some time looking at other players in your space as well. There might be trends by industry, demographic, or device that you need to pay attention to.
I like to get as big a sample size as possible, but depending on what I’m auditing that might not always be possible. If what I’m auditing is more of a common component, I’ll try to target a pool of 10–20 samples (using a combination of apps, websites, and/or operating systems, depending on what I’m auditing).
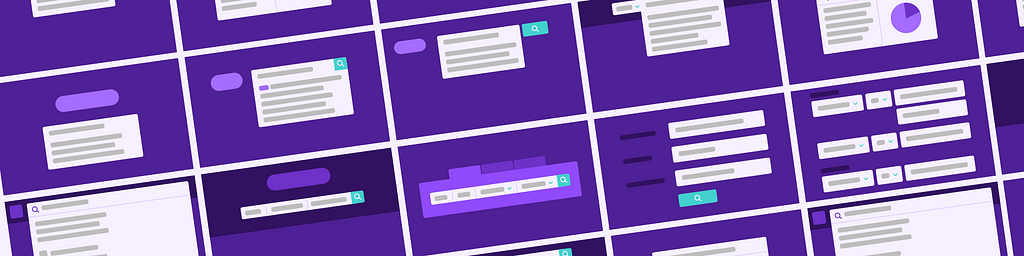
3. Screenshot everything
Shift + Command + 4 is your new best friend. You’ll want to grab a screenshot of everything you see — every state, every page, every interaction. This will make it easier to remember and document for others later. If you don’t do this, I guarantee you’ll go back and end up doing it at some point later, so you might as well do it now.
I like to organize all my screenshots into a folder, organized by product, so I can refer back to them when putting together my research into a final document. File organization is easy to overlook but a true time saver in the end!
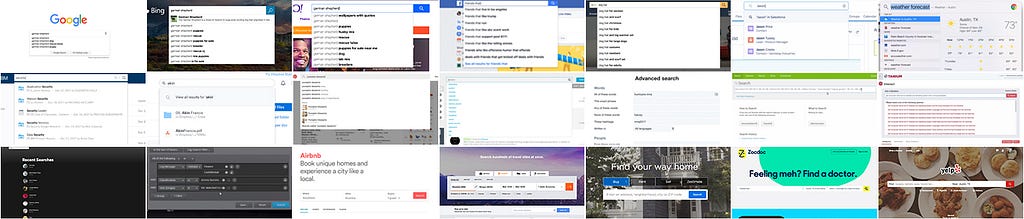
4. Review everything you’ve captured
By now you’ve looked at at least 20 apps or websites, if not more (because chances are you didn’t find what you were looking for at each place you looked).
It’s hard to remember what was what, who did what and in what order, so take some time to review what you’ve screenshotted. Looking through all your screenshots will help you prep for the next couple of steps.
5. Organize into buckets
See what categories emerge when you start to organize your samples into buckets. What features does each product have? What characteristics or traits are common?
I’m not typically a big Excel fan, but a spreadsheet definitely comes in handy here. I’m also more of a visual person, so being able to see a breakdown that way can help with understanding too.
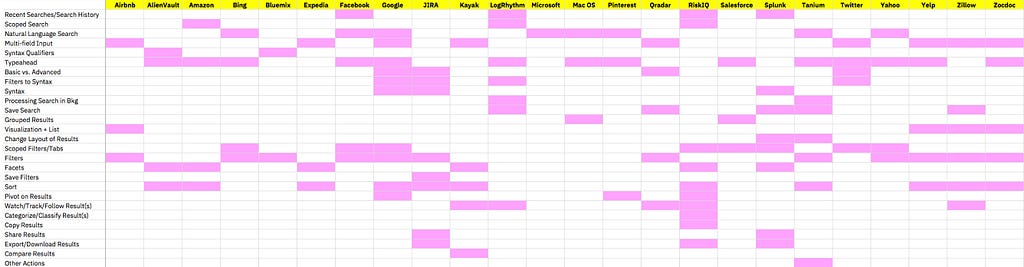
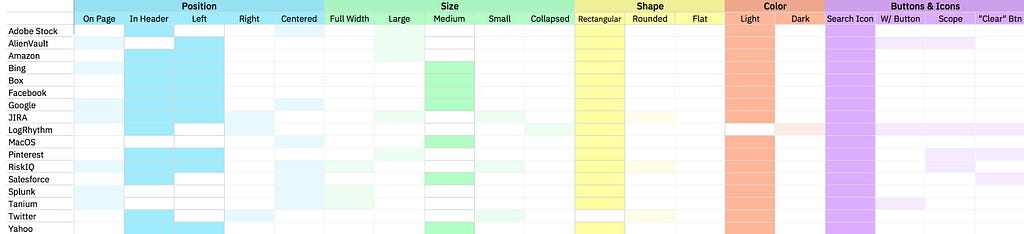
6. Look for patterns
Use your matrix you’ve created to look for commonalities. You’re basically using it as heat map of sorts to help surface patterns. These patterns can help you determine what is a common convention that users are already familiar with.
7. Document and synthesize to share with your team
Now that you have some insights and recommendations you might want to share it with your team; this can help them understand why you made certain decisions. Formats for your audit documentation can range from a Keynote presentation to something more like a UX framework guideline, depending on what works for you.
Even if you don’t end up sharing it immediately, creating a document that can be referred to later is extremely valuable for future-you and/or other designers on your team, saving them from the re-work of having to conduct their own audit.
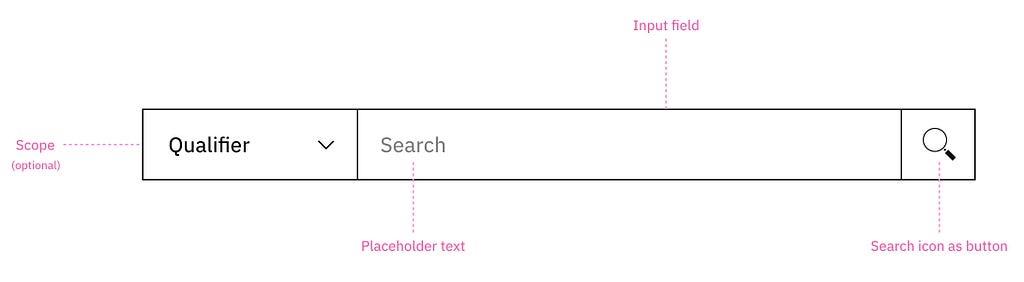
And remember how initially you figured out what you were auditing exactly? Well now that you have all this information, it might be a good time to actually define your component or workflow so to set the scope of what something like “search” actually means. For others reviewing this later, extra clarity can be extremely helpful for understanding and alignment.
8. Use what you’ve learned
Make use of your new insights to inform how and what you do for your product and users. Test your designs, iterate if necessary, and always keep an eye open for changing trends!
UX audits and their importance in the design process was originally published in UX Design Collective on Medium, where people are continuing the conversation by highlighting and responding to this story.
from UX Design Collective – Medium https://uxdesign.cc/ux-audits-and-their-importance-in-the-design-process-55264e55ffd1?source=rss—-138adf9c44c—4